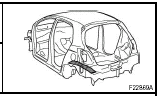
 Toyota Yaris: Floor side rail front panel (ASSY): Hatchback
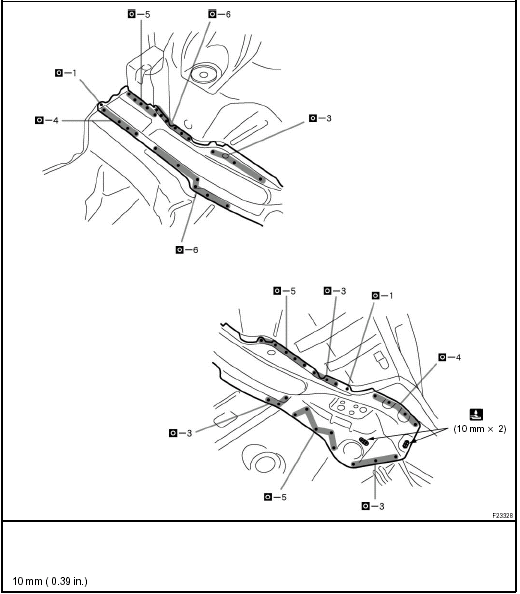
REPLACEMENT
With the body lower back panel removed.
REMOVAL
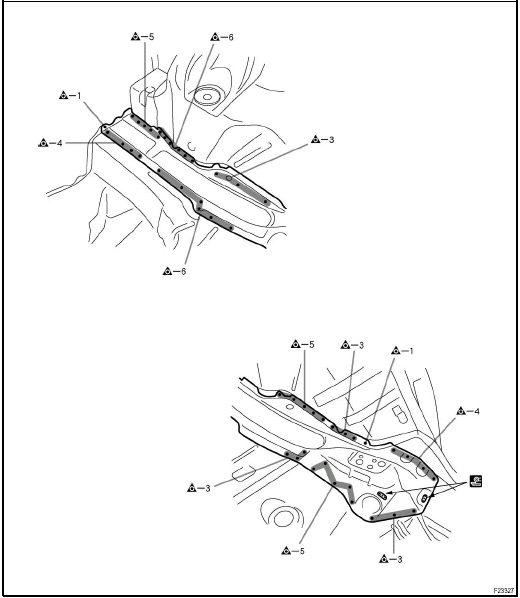
INSTALLATION
Temporarily install the new parts and measure each part of the new parts in accordance with the body dimension diagram. (See the body dimension diagram) Inspect the fitting of the related parts around the new parts before welding. This affects the appearance of the finish.
After welding, apply the polyurethane foam to the corresponding parts.
After welding, apply body sealer and under-coating to the corresponding parts.
After applying the top coat layer, apply anti-rust agent to the inside of the necked section structural weld spots.
 Quarter panel upper extension (CUT): Hatchback
REPLACEMENT
With the back door opening trough removed.
REMOVAL
INSTALLATION
Temporarily install the new parts and measure each part of the new parts in accordance
with the body dimension dia ...
 Floor side rail front panel (ASSY): Sedan
REPLACEMENT
With the body lower back panel removed.
REMOVAL
INSTALLATION
Temporarily install the new parts and measure each part of the new parts in accordance
with the body dimension diagra ...
See also:
Instrument panel overview
Instrument panel overview
1. Window lock switch
2. Cup holders
3. Side vents
4. Engine immobilizer/theft deterrent system indicator light
5. Auxiliary boxes
6. Instrument cluster
7. Ce ...
Outer panel installation torque
...
Body panel sealing areas
HINT: 1) Prior to applying body sealer, clean the area with a rag soaked in silicone
remover.
2) If weld-through primer was used, first wipe off any excess and than coat with
anti-corrosion prime ...