
 Toyota Yaris: Cowl top side panel (ASSY)
REPLACEMENT
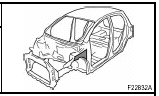
REMOVAL
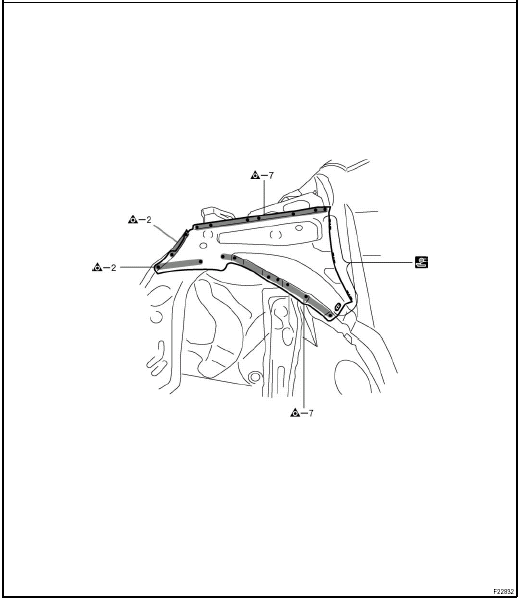
INSTALLATION
Temporarily install the new parts and measure each part of the new parts in accordance with the body dimension diagram. (See the body dimension diagram) Inspect the fitting of the related parts around the new parts before welding. This affects the appearance of the finish.
After welding, apply the polyurethane foam to the corresponding parts.
After welding, apply body sealer and under-coating to the corresponding parts.
After applying the top coat layer, apply anti-rust agent to the inside of the necked section structural weld spots.
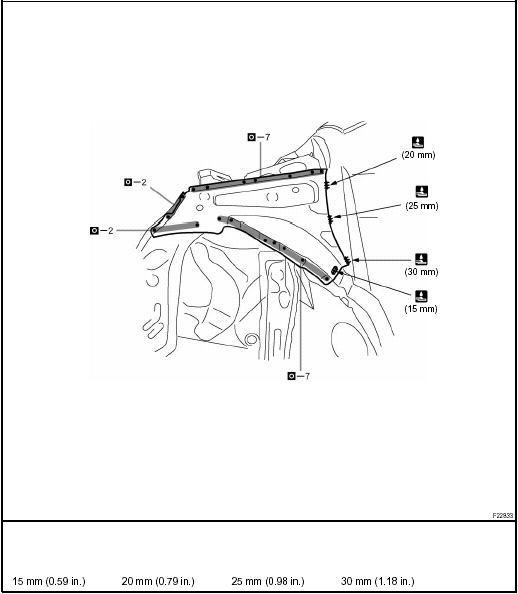
 Front sidemember reinforcement (ASSY)
REPLACEMENT
With the radiator support and front fender apron removed.
REMOVAL
INSTALLATION
Temporarily install the new parts and measure each part of the new parts in accordance
with the bod ...
 Cowl top side upper panel (ASSY)
REPLACEMENT
With the cowl top side panel removed.
INSTALLATION
Temporarily install the new parts and measure each part of the new parts in accordance
with the body dimension diagram. (See the ...
See also:
Battery recharging precautions
During recharging, the battery is producing hydrogen gas.
Therefore, before recharging:
1. If recharging with the battery installed on the vehicle, be sure to disconnect
the ground cable.
2. B ...
Installing child restraints
Follow the child restraint system manufacturer’s instructions. Firmly secure
child restraints to the rear seats using the LATCH anchors or a seat belt. Attach
the top tether strap when installin ...
Rear window wiper and washer
To turn on the rear window wiper, twist the lever knob upward. (Position 1)
The key must be in the “ON” position.
To squirt washer fluid on the rear window, twist the knob upward or downward ...