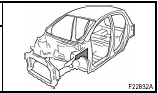
 Toyota Yaris: Cowl top side panel (ASSY): Hatchback
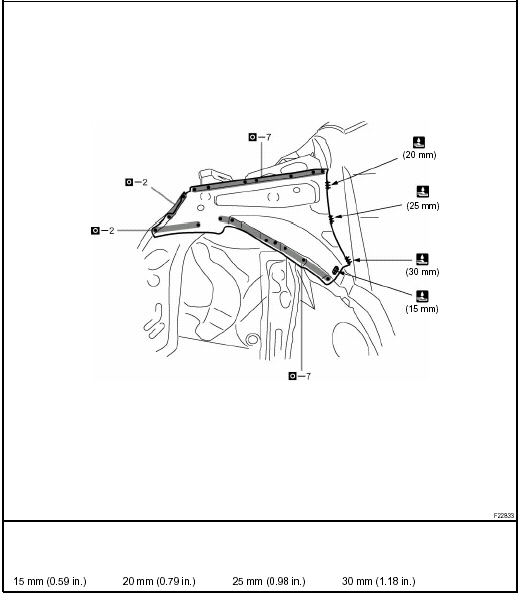
REPLACEMENT
REMOVAL
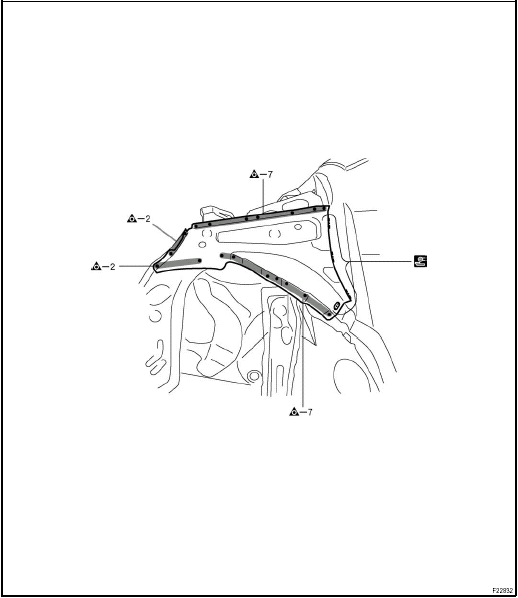
INSTALLATION
Temporarily install the new parts and measure each part of the new parts in accordance with the body dimension diagram. (See the body dimension diagram) Inspect the fitting of the related parts around the new parts before welding. This affects the appearance of the finish.
After welding, apply the polyurethane foam to the corresponding parts.
After welding, apply body sealer and under-coating to the corresponding parts.
After applying the top coat layer, apply anti-rust agent to the inside of the necked section structural weld spots.
 Front sidemember reinforcement (ASSY)
REPLACEMENT
With the radiator support and front fender apron removed.
REMOVAL
INSTALLATION
Temporarily install the new parts and measure each part of the new parts in accordance
with the bod ...
 Cowl top side panel (ASSY): Sedan
REPLACEMENT
REMOVAL
INSTALLATION
Temporarily install the new parts and measure each part of the new parts in accordance
with the body dimension diagram. (See the body dimension diagram) Inspe ...
See also:
If the vehicle battery is discharged
The following procedures may be used to start the engine if the vehicle’s
battery is discharged. You can also call your Toyota dealer or qualified repair
shop.
If you have a set of jumper (or b ...
Electric power steering system
The electric power steering system, using an electric motor, assists the turning
of the steering wheel.
In the following cases, you may feel the steering becomes heavy. But it is not
a malfunctio ...
If your vehicle becomes stuck
If your vehicle becomes stuck in snow, mud, sand, etc., then you may attempt
to rock the vehicle free by moving it forward and backward.
CAUTION.
Do not attempt to rock the vehicle free by movin ...