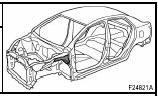
 Toyota Yaris: Cowl top side panel (ASSY): Sedan
REPLACEMENT
REMOVAL
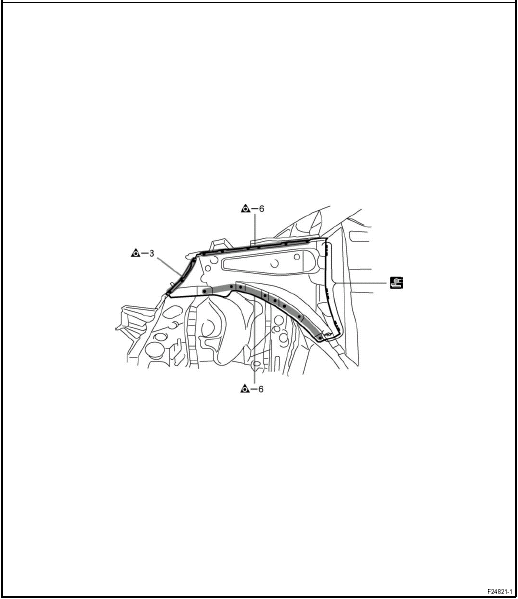
INSTALLATION
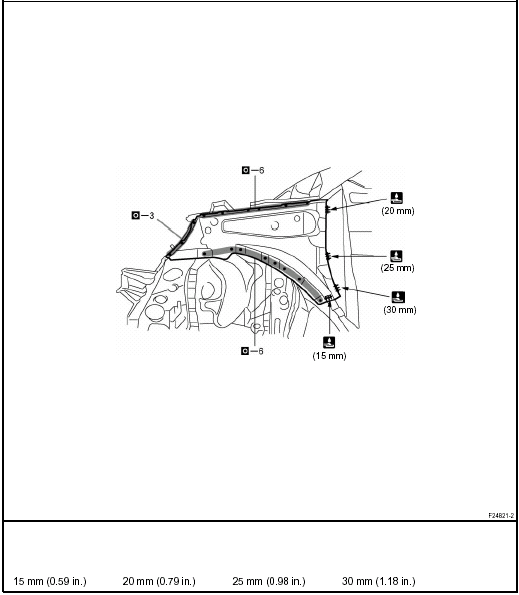
Temporarily install the new parts and measure each part of the new parts in accordance with the body dimension diagram. (See the body dimension diagram) Inspect the fitting of the related parts around the new parts before welding. This affects the appearance of the finish.
After welding, apply polyurethane foam to the corresponding parts.
After welding, apply body sealer and undercoating to the corresponding parts.
After applying the top coat, apply anti-rust agent to the internal panel portion of the closed section structural weld points.
 Cowl top side panel (ASSY): Hatchback
REPLACEMENT
REMOVAL
INSTALLATION
Temporarily install the new parts and measure each part of the new parts in accordance
with the body dimension diagram. (See the body dimension diagram) Inspe ...
 Cowl top side upper panel (ASSY): Hatchback
REPLACEMENT
With the cowl top side panel removed.
REMOVAL
INSTALLATION
Temporarily install the new parts and measure each part of the new parts in accordance
with the body dimension diagram. ...
See also:
Head restraints
Front seat
Rear seat (split seat)
Rear seat (non-split seat)
For your safety and comfort, adjust the head restraint before driving.
To raise: Pull it up.
To lower: Push it down whil ...
Front fender mounting bracket (ASSY)
REPLACEMENT
REMOVAL
INSTALLATION
Temporarily install the new parts and measure each part of the new parts in accordance
with the body dimension diagram. (See the body dimension diagram) Inspe ...