
 Toyota Yaris: Lower back upper gusset (ASSY): Hatchback
REPLACEMENT
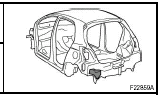
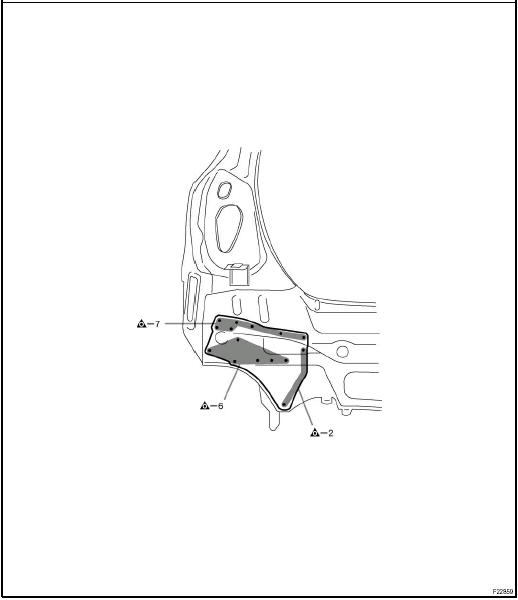
REMOVAL
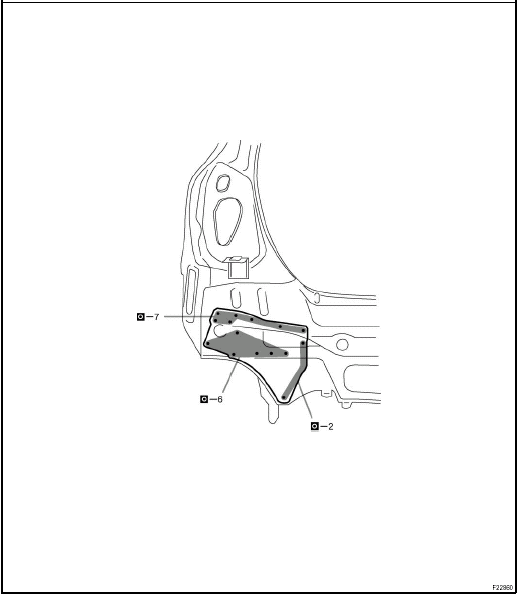
INSTALLATION
Temporarily install the new parts and measure each part of the new parts in accordance with the body dimension diagram. (See the body dimension diagram) Inspect the fitting of the related parts around the new parts before welding. This affects the appearance of the finish.
After welding, apply the polyurethane foam to the corresponding parts.
After welding, apply body sealer and under-coating to the corresponding parts.
After applying the top coat layer, apply anti-rust agent to the inside of the necked section structural weld spots.
 Quarter panel (CUT): Sedan
REPLACEMENT
REMOVAL
INSTALLATION
Temporarily install the new parts and measure each part of the new parts in accordance
with the body dimension diagram. (See the body dimension diagram) Ins ...
 Lower back upper qusset (ASSY): Sedan
REPLACEMENT
REMOVAL
INSTALLATION
Temporarily install the new parts and measure each part of the new parts in accordance
with the body dimension diagram. (See the body dimension diagram) Inspe ...
See also:
Using the steering wheel audio switches
Some audio features (audio volume control, radio, CD player etc.) can be controlled
using the switches on the steering wheel.
For more information, please refer to the ”Toyota Audio System Ownerâ ...
Views of this text
Scope of the repair work explanation
This text explains the welding panel replacement instructions from the vehicle’s
white body condition.
We have abbreviated the explanations of the removal an ...
Important health and safety information about your Toyota
CAUTION.
WARNING: Engine exhaust, some of its constituents, and a wide variety of automobile
components contain or emit chemicals known to the State of California to cause cancer
and birth defect ...